
| |
Comparing
Photoshop methods of Converting a Colour image to Black and White. |
| In Photoshop there are numerous ways of converting a Colour image to Black and White and in this article I will discuss the advantages and disadvantages of a few of the main methods. |
Here
are the methods we are going to compare. |
1. DESATURATE |
 |
This
image, that we will use for the comparisons is a digital version of GretagMacbeth
ColorChecker Chart |
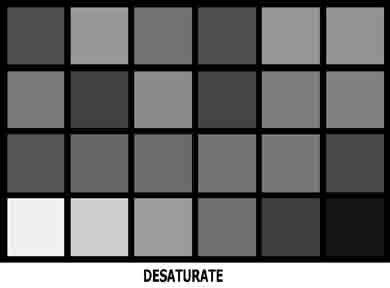 |
This is the
result of converting by DESATURATING the Colour Image by using
Image/Adjustments/Desaturate. Verdict: |
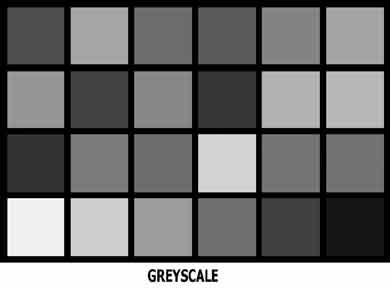 |
This is the
result of converting the colour image to GREYSCALE by selecting
Image/Mode/Greyscale. Verdict: |
 |
This is the
result of converting by using a GRADIENT MAP Adjustment Layer. |
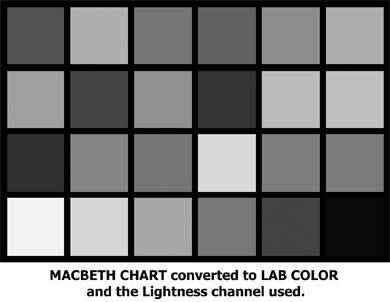 |
This is the result of converting the Image to LAB COLOR, selecting the Lightness channel only and converting the image back to greyscale. Verdict: https://www.photoshopessentials.com/photo-editing/black-and-white-tutorials/lab-color/ |
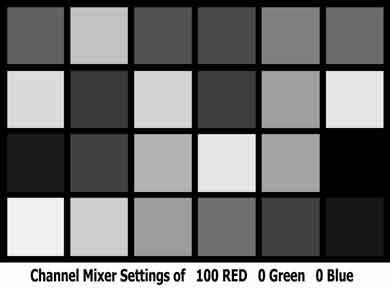 |
This is the result
of converting by using a Channel Mixer adjustment layer at Photoshop default
of 100% Red Layer/New Adjustment Layer/Channel Mixer, then tick the Monochrome box and click on OK. This is a good quick method of getting punchy results and because it maintains the colour information, the tones can be modified by applying other layers such as Hue and Saturation. Verdict: Can produce good results like B&W film taken with a red filter on the lens, but lacks finesse when needed. |
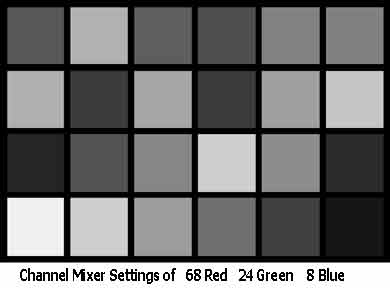 |
This
is the result of converting by using a Channel Mixer adjustment layer.
|
I
hope that the above comparisons have helped you to chose a method that
suits you. |
If you
wish to discuss any of the above methods e-mail me |
|
