| |
| |
||||
|
Photoshop
Tutorials |
The
following Photoshop tutorials contained on this page are in PDF Format
and will require ADOBE ACROBAT READER software to be installed on your computer. |
|
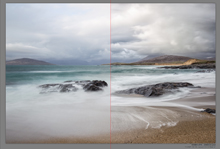
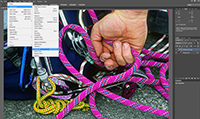
New Tutorial
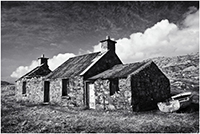
Learn how to add colour to an image using Photoshop. You will learn the basics of adding any colour to any part of an image. In this tutorial I will add colour to the roof of this Isle of Harris hut to change it to the more traditional rusty red colour that you see. |
|
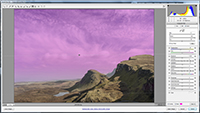
New Tutorial
This
tutorial will show you how to use the Google/Nik Collection Color Efex Pro4 Filter called DETAIL EXTRACTOR in Photoshop CC. |
|
New Tutorial
This tutorial will show you how to fine tune your image for printing. |
|
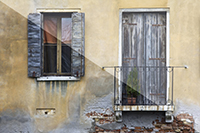
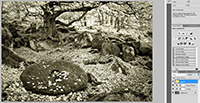
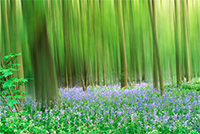
This tutorial will show you 2 quick methods to Pastelise an image |
|
This tutorial will show you how apply a Graduated filter in Adobe Camera Raw. |
|
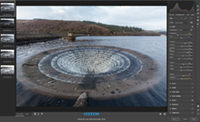
NEW Revised Version
This
tutorial will show you how merge a set of Raw File images opened in Adobe Camera Raw to HDR in Photoshop
2023. |
|
NEW Modified Version for Photoshop 2020
This
tutorial will show you how merge a set of Raw File images or DNG File images opened in Adobe Camera Raw to HDR in Photoshop
2020. |
|
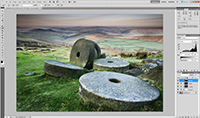
This tutorial will show you how to crop then correct any no image areas. |
|
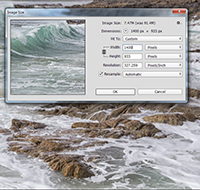
This tutorial will show you in simple steps how resize your image for projection. |
|
This method
involves the creation of 3 separate LEVELS Adjustment layers. One layer
to, darken the image, one layer to lighten the image and one layer to
adjust the contrast of the image. |
|
|
This tutorial will show you how tone your image using one extra layer and a blending mode. |
|
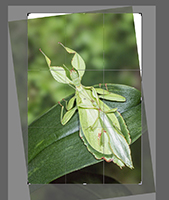
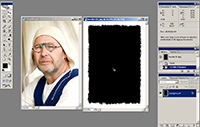
This tutorial will show you how apply a ready made border to your image. (Numerous magazines give some of these borders away freely) |
|
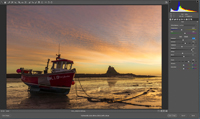
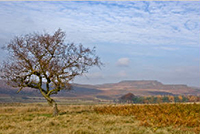
This tutorial will show you how apply a graduated neutral density effect on an image where you should have used a graduated neutral density filter to correct the exposure for the sky at the time of taking the image. |
|
This tutorial
will show you how you can split-tone a B&W image. |
|
This tutorial
will show you how you can quickly tone a B&W image. |
|
This tutorial
will show you how to convert your colour images to Black & White using
RGB Channel mixer and then to modify the tones within the image. |
|
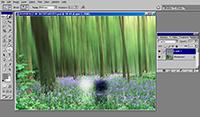
This tutorial
will show you how to simulate the Darkroom technique of Enlarger Diffision
on negatives, by selectively blurring the black tones in your image. |
|
We have all
taken images where the horizon is tilted. |
|
This method of sharpening is done using the HIGH PASS FILTER and doesn't give the obvious haloes that unsharp mask does. |
|
Dodging and
burning should make an image lighter or darker |
|
This tutorial will show you how to selectively apply filter effects to an image. |
|
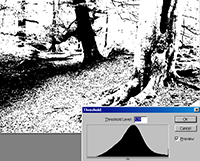
This tutorial will show you how to find the lightest and darkest parts of your image and how to set them as the white point and the black point. This technique is primarily intended for extending the tonal range in a low contrast image. If a known white or black is targeted in an image, it will remove the colour cast in those tones. |
|
PHOTOSHOP
ARTICLE 1
|
| PHOTOSHOP ARTICLE 2
For some
years now, since the Digital Photography revolution began, photographers
have been recommended to use Adobe RGB (1998) as their working color
space.
|
| |